
 We overheard the Makerbot talking to itself at the 3D Cyber Wigwam today…
12:00 am I’m awake but no one is stirring. The part from yesterday is still on the build plate.
-
5:30 am The Boss is awake. Time to look sharp.
5:35 am That door clamp is removed from the build plate. That was a 3 hour build. I put a lot of layers into that one.
5:36 am Boss wants to change filaments. I have to heat up the head.
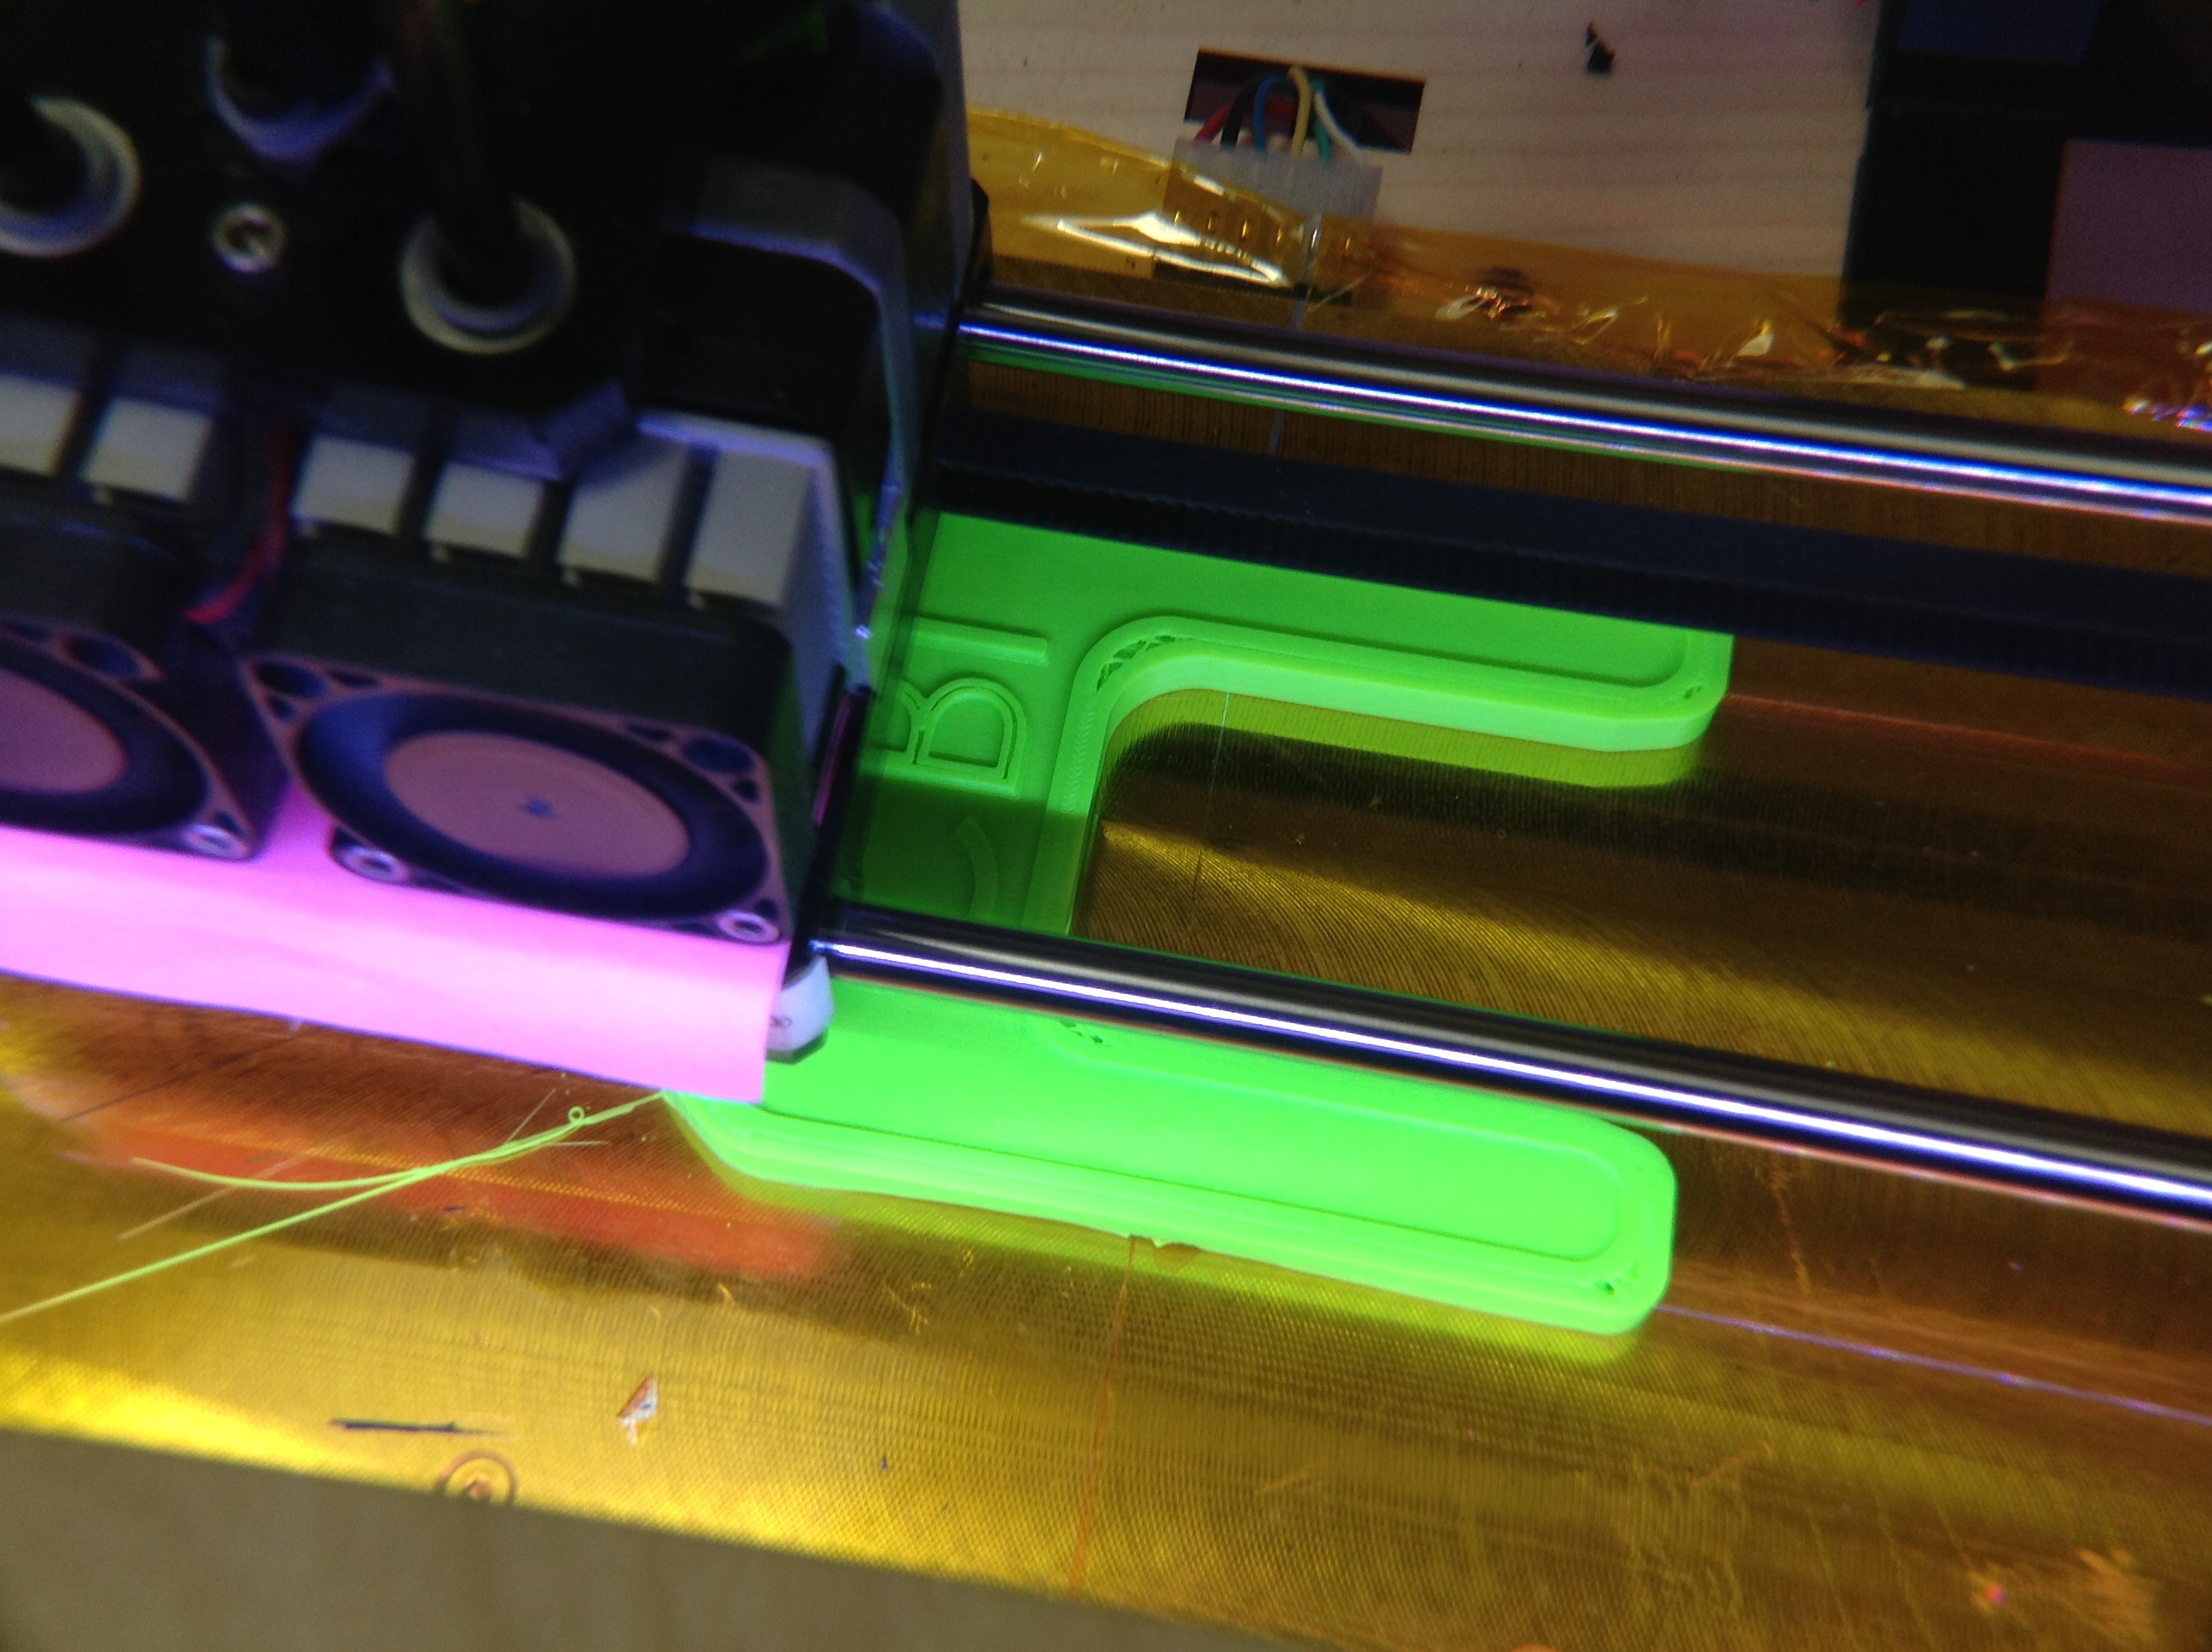
5:37 am Pink? What’s he got in mind now?
5:38 am Oh Boy, here comes the instructions. A piece of cake. This one is only 23,462 blocks.
5:39 am Build plate is heating, come on.
5:43 am Build plate is 110C. Fire up the extruder.
5:44 am Build plate is 110C, Extruder is 220C.
5:45 am Bring the build plate up and start extruding.
5:46 am First layer complete. Hmmm, interesting pattern. Now for layer 2. This one has 3 solid layers to begin.
5:48 am Now we begin the honeycomb fill. Trace, trace, trace.
6:15 am Ooo, the extruder is getting too hot, a little more fan.
7:00 am I see, this is a personalized key ring that looks like a karabiner.
7:10 am I see. It’s personalized with writing on the side, “Rachel.” That must be why it’s pink.
7:20 am Now to finish the top layers.
7:30 am Complete! TaDa! Ring the bell.
7:31 am They must be in a hurry today. They are switching in a new program. 264,516 blocks. This one’s going to take a while to crunch.
7:32 am The build plate hasn’t cooled too much. Come on, get to temp.
7:34 am Build plate up to temp, Bring up the extruder.
7:37 am OK! Let’s start laying some extrusion. Hmmm, interesting pattern.
7:38 am Got to fill it in.
7:39 am Next solid layer.
7:40 am One more solid layer.
7:41 am Now the honey comb. How deep is this thing?

7:42 am I think it’s another one of those roof rack accessories. Time will tell. It’s not too often we have a large radius like this.
8:30 am Oh, boy this is getting boring, we’ve done the same pattern now for 40 layers. What’s that in human speak? 1/2 an inch?
8:45 am Temps ok. Something different coming up. Oh goody.
8:50 am A couple holes on the side wall. Careful that they don’t sag.
9:40 am I feel like I’ve spent my life on this pattern.
9:45 am Hey, it’s time for the top surface. It’s got the part number in it. That’s what those funny notches were.
9:50 am One more stitch, we’re done! Lower the build plate. Turn the heaters off. Ring the bell.
10:50 am Did anyone hear us?
11:50 am Did anyone hear us? This part is complete.
12:50 am Hey, anyone out there? There’s a part on the build plate.
1:50 pm Hmm, we finished it, right?
2:50 pm Should we ring the bell again?
3:50 pm We could do it again. No, that wouldn’t work. That thing is still sitting on the build plate, in the way. Besides the heaters are all cooled off.
5:50 pm Just our luck they’ll show up at supper time and expect us to work.
7:50 pm Hey, someone pulled the program chip out. Maybe something will happen.
8:30 pm Finally we got that thing off the build plate. It was starting to grow barnacles.
9:30 pm Here comes the program chip. What’s in store?
9:31 pm 860,567 blocks? That will take us all night!
9:32 pm Build plate heater on. Hey you’ve got to get to 110C, don’t take all day.
9:52 pm Build plate up to temp. Fire up the extruders.
9:55 pm OK! Start laying extrusion.
10:05 pm Hmm, this pattern looks familiar.
10:30 pm It’s similar but different. Time for honeycomb.
11:30 pm I see, it’s pretty much the same except they made that hole bigger. Make sure it doesn’t sag!
11:59 pm This is boring. I feel like I’ve been doing this all day. Move, extrude, move extrude, move, extrude. How deep is this thing anyway?

