
 We overheard the Makerbot talking to itself at the 3D Cyber Wigwam today…
12:00 am I’m awake but no one is stirring. The part from yesterday is still on the build plate.
-
5:30 am The Boss is awake. Time to look sharp.
5:35 am That door clamp is removed from the build plate. That was a 3 hour build. I put a lot of layers into that one.
5:36 am Boss wants to change filaments. I have to heat up the head.
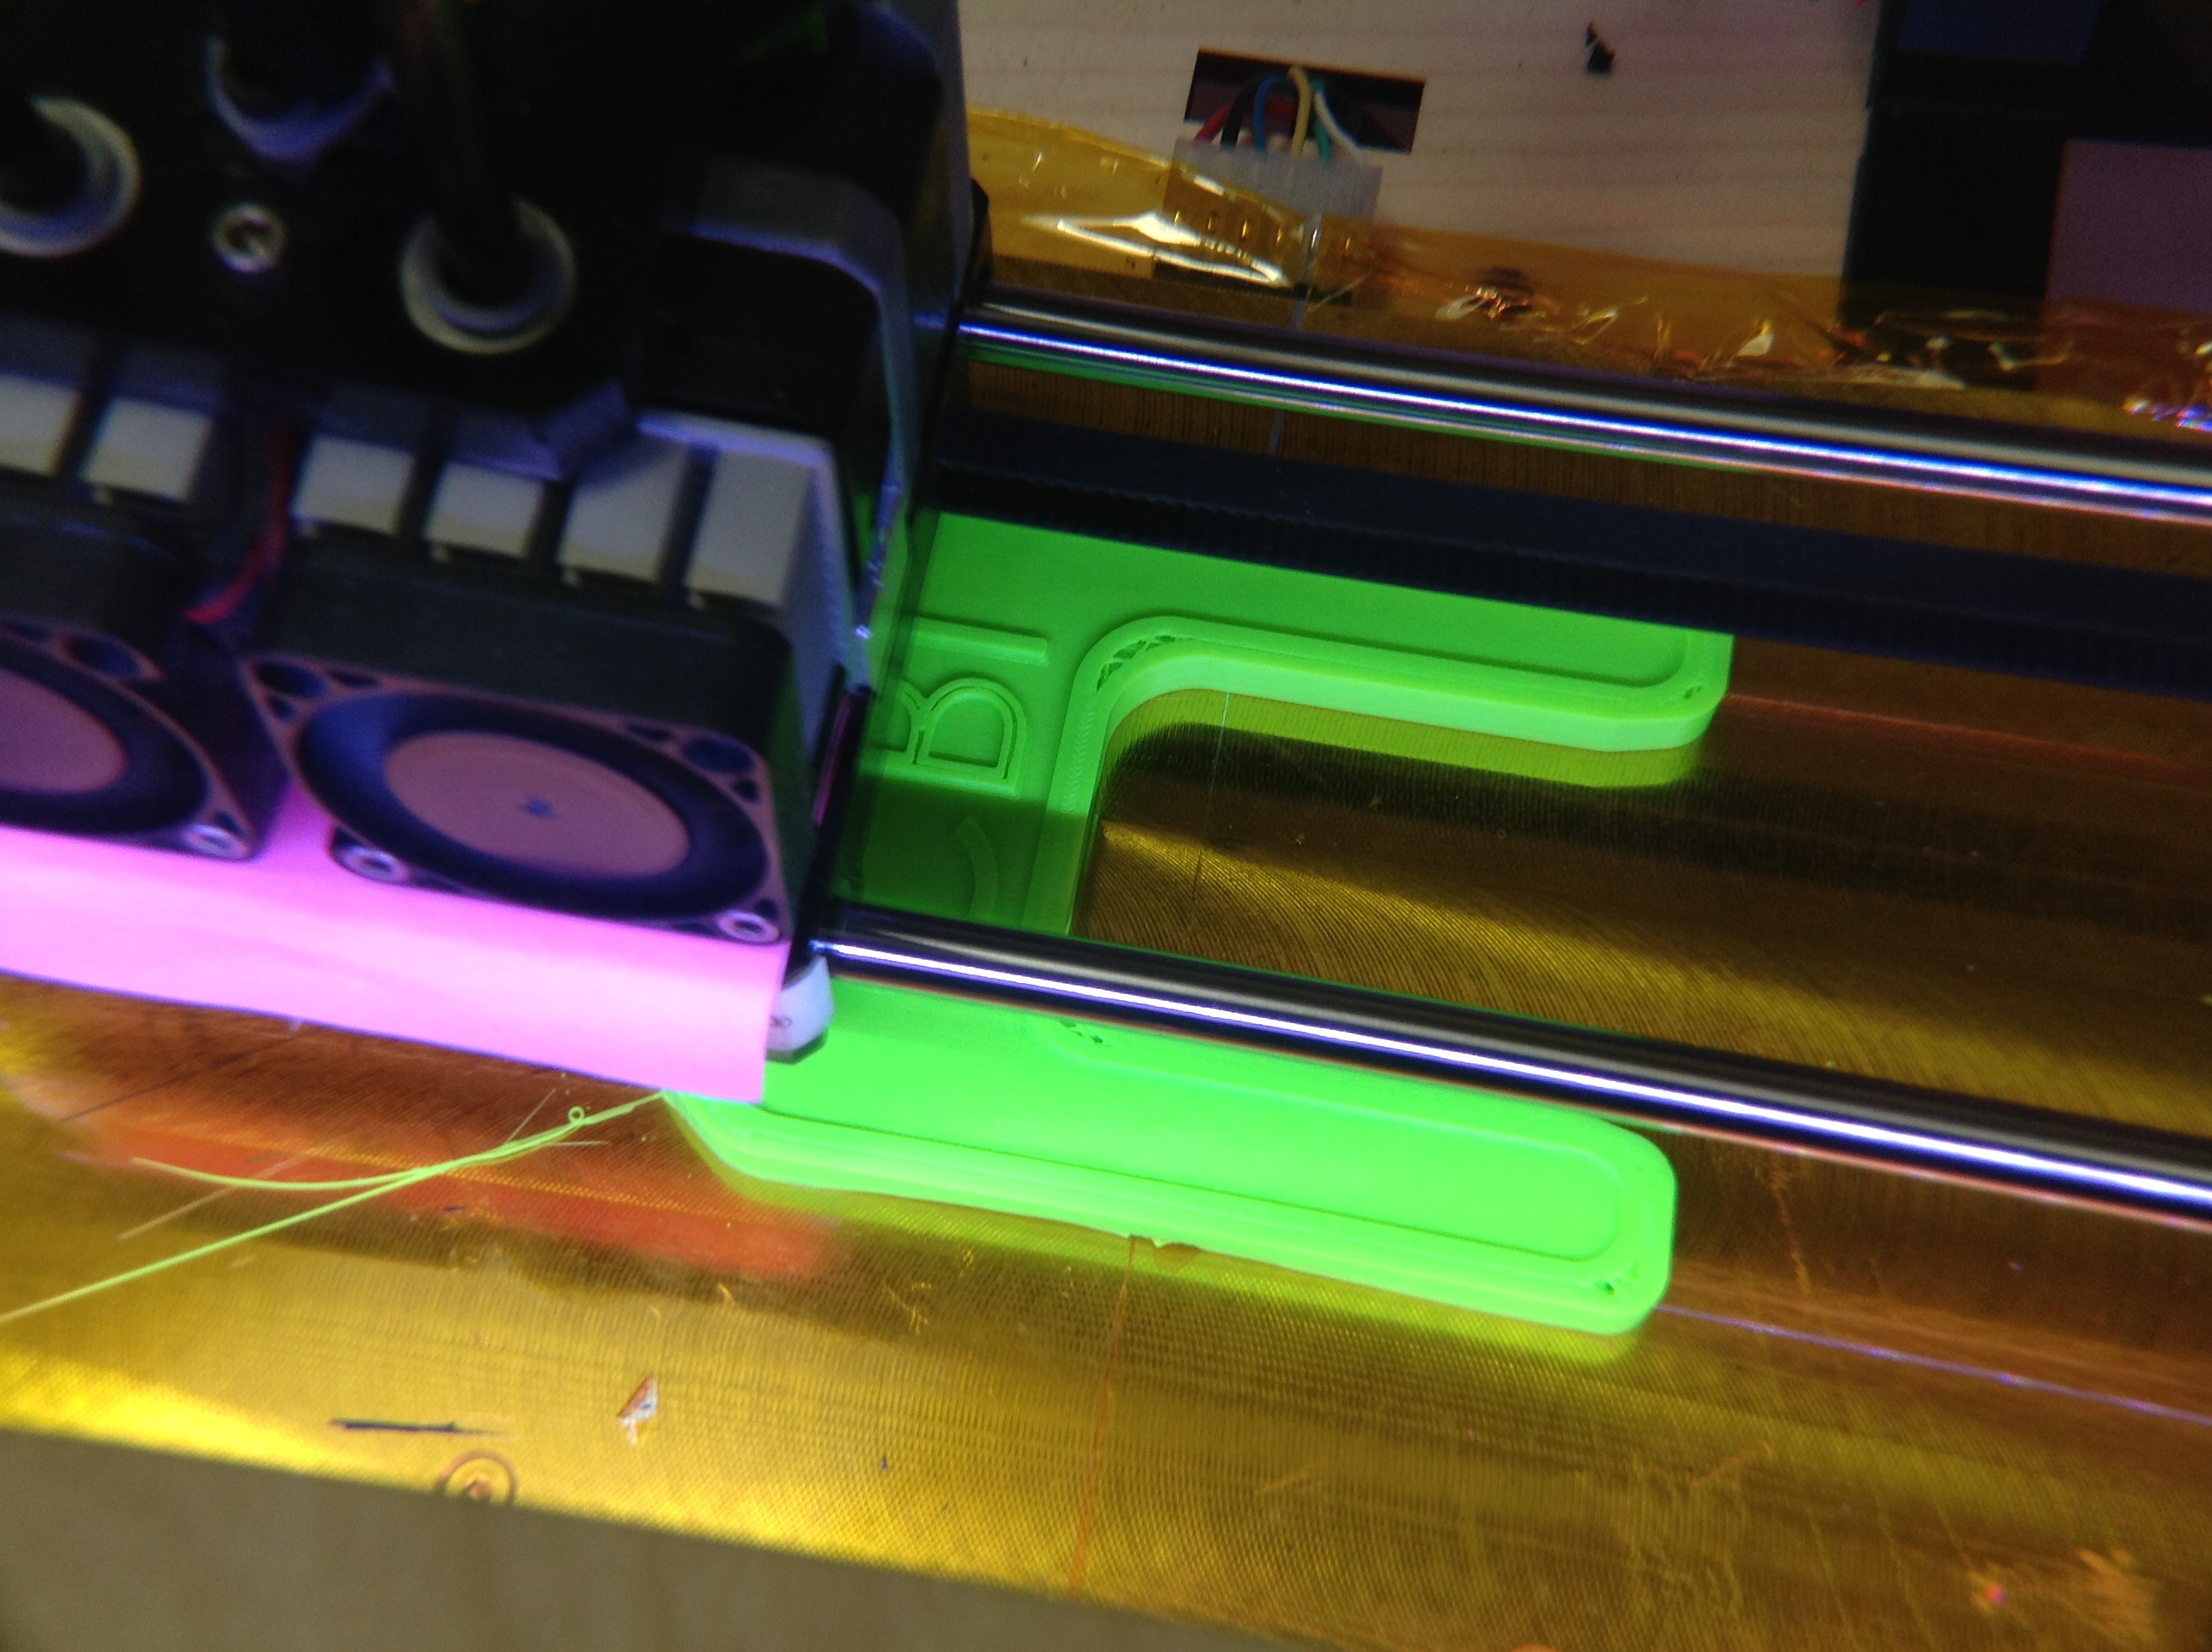
5:37 am Pink? What’s he got in mind now?
5:38 am Oh Boy, here comes the instructions. A piece of cake. This one is only 23,462 blocks.
5:39 am Build plate is heating, come on.
5:43 am Build plate is 110C. Fire up the extruder.
5:44 am Build plate is 110C, Extruder is 220C.
5:45 am Bring the build plate up and start extruding.
5:46 am First layer complete. Hmmm, interesting pattern. Now for layer 2. This one has 3 solid layers to begin.
5:48 am Now we begin the honeycomb fill. Trace, trace, trace.
6:15 am Ooo, the extruder is getting too hot, a little more fan.
7:00 am I see, this is a personalized key ring that looks like a karabiner.
7:10 am I see. It’s personalized with writing on the side, “Rachel.” That must be why it’s pink.
7:20 am Now to finish the top layers.
7:30 am Complete! TaDa! Ring the bell.
7:31 am They must be in a hurry today. They are switching in a new program. 264,516 blocks. This one’s going to take a while to crunch.
7:32 am The build plate hasn’t cooled too much. Come on, get to temp.
7:34 am Build plate up to temp, Bring up the extruder.
7:37 am OK! Let’s start laying some extrusion. Hmmm, interesting pattern.
7:38 am Got to fill it in.
7:39 am Next solid layer.
7:40 am One more solid layer.
7:41 am Now the honey comb. How deep is this thing?

7:42 am I think it’s another one of those roof rack accessories. Time will tell. It’s not too often we have a large radius like this.
8:30 am Oh, boy this is getting boring, we’ve done the same pattern now for 40 layers. What’s that in human speak? 1/2 an inch?
8:45 am Temps ok. Something different coming up. Oh goody.
8:50 am A couple holes on the side wall. Careful that they don’t sag.
9:40 am I feel like I’ve spent my life on this pattern.
9:45 am Hey, it’s time for the top surface. It’s got the part number in it. That’s what those funny notches were.
9:50 am One more stitch, we’re done! Lower the build plate. Turn the heaters off. Ring the bell.
10:50 am Did anyone hear us?
11:50 am Did anyone hear us? This part is complete.
12:50 am Hey, anyone out there? There’s a part on the build plate.
1:50 pm Hmm, we finished it, right?
2:50 pm Should we ring the bell again?
3:50 pm We could do it again. No, that wouldn’t work. That thing is still sitting on the build plate, in the way. Besides the heaters are all cooled off.
5:50 pm Just our luck they’ll show up at supper time and expect us to work.
7:50 pm Hey, someone pulled the program chip out. Maybe something will happen.
8:30 pm Finally we got that thing off the build plate. It was starting to grow barnacles.
9:30 pm Here comes the program chip. What’s in store?
9:31 pm 860,567 blocks? That will take us all night!
9:32 pm Build plate heater on. Hey you’ve got to get to 110C, don’t take all day.
9:52 pm Build plate up to temp. Fire up the extruders.
9:55 pm OK! Start laying extrusion.
10:05 pm Hmm, this pattern looks familiar.
10:30 pm It’s similar but different. Time for honeycomb.
11:30 pm I see, it’s pretty much the same except they made that hole bigger. Make sure it doesn’t sag!
11:59 pm This is boring. I feel like I’ve been doing this all day. Move, extrude, move extrude, move, extrude. How deep is this thing anyway?
 After cranking out parts for the last month the chiefs at the Cyber Wigwam have declared the Makerbot Replicator a good tool for 3D printing at home. After a small learning curve, the Makerbot has the blogging club armed with keychains and personalized dog biscuit cutters.
  The Makerbot Replicator reperesents an excellent approach to 3D printing essentially out of the box. Feel free to comment on your 3D printing experiences below.